
Lessons Learned Post #2: Delivering On Promises
Reflecting on my successful first pin badge kickstarter with artist Rob Turpin. The results are on sale at my Etsy shop here. Posts: original spec, on managing the KS.
Lesson 7: People are actually pretty bright
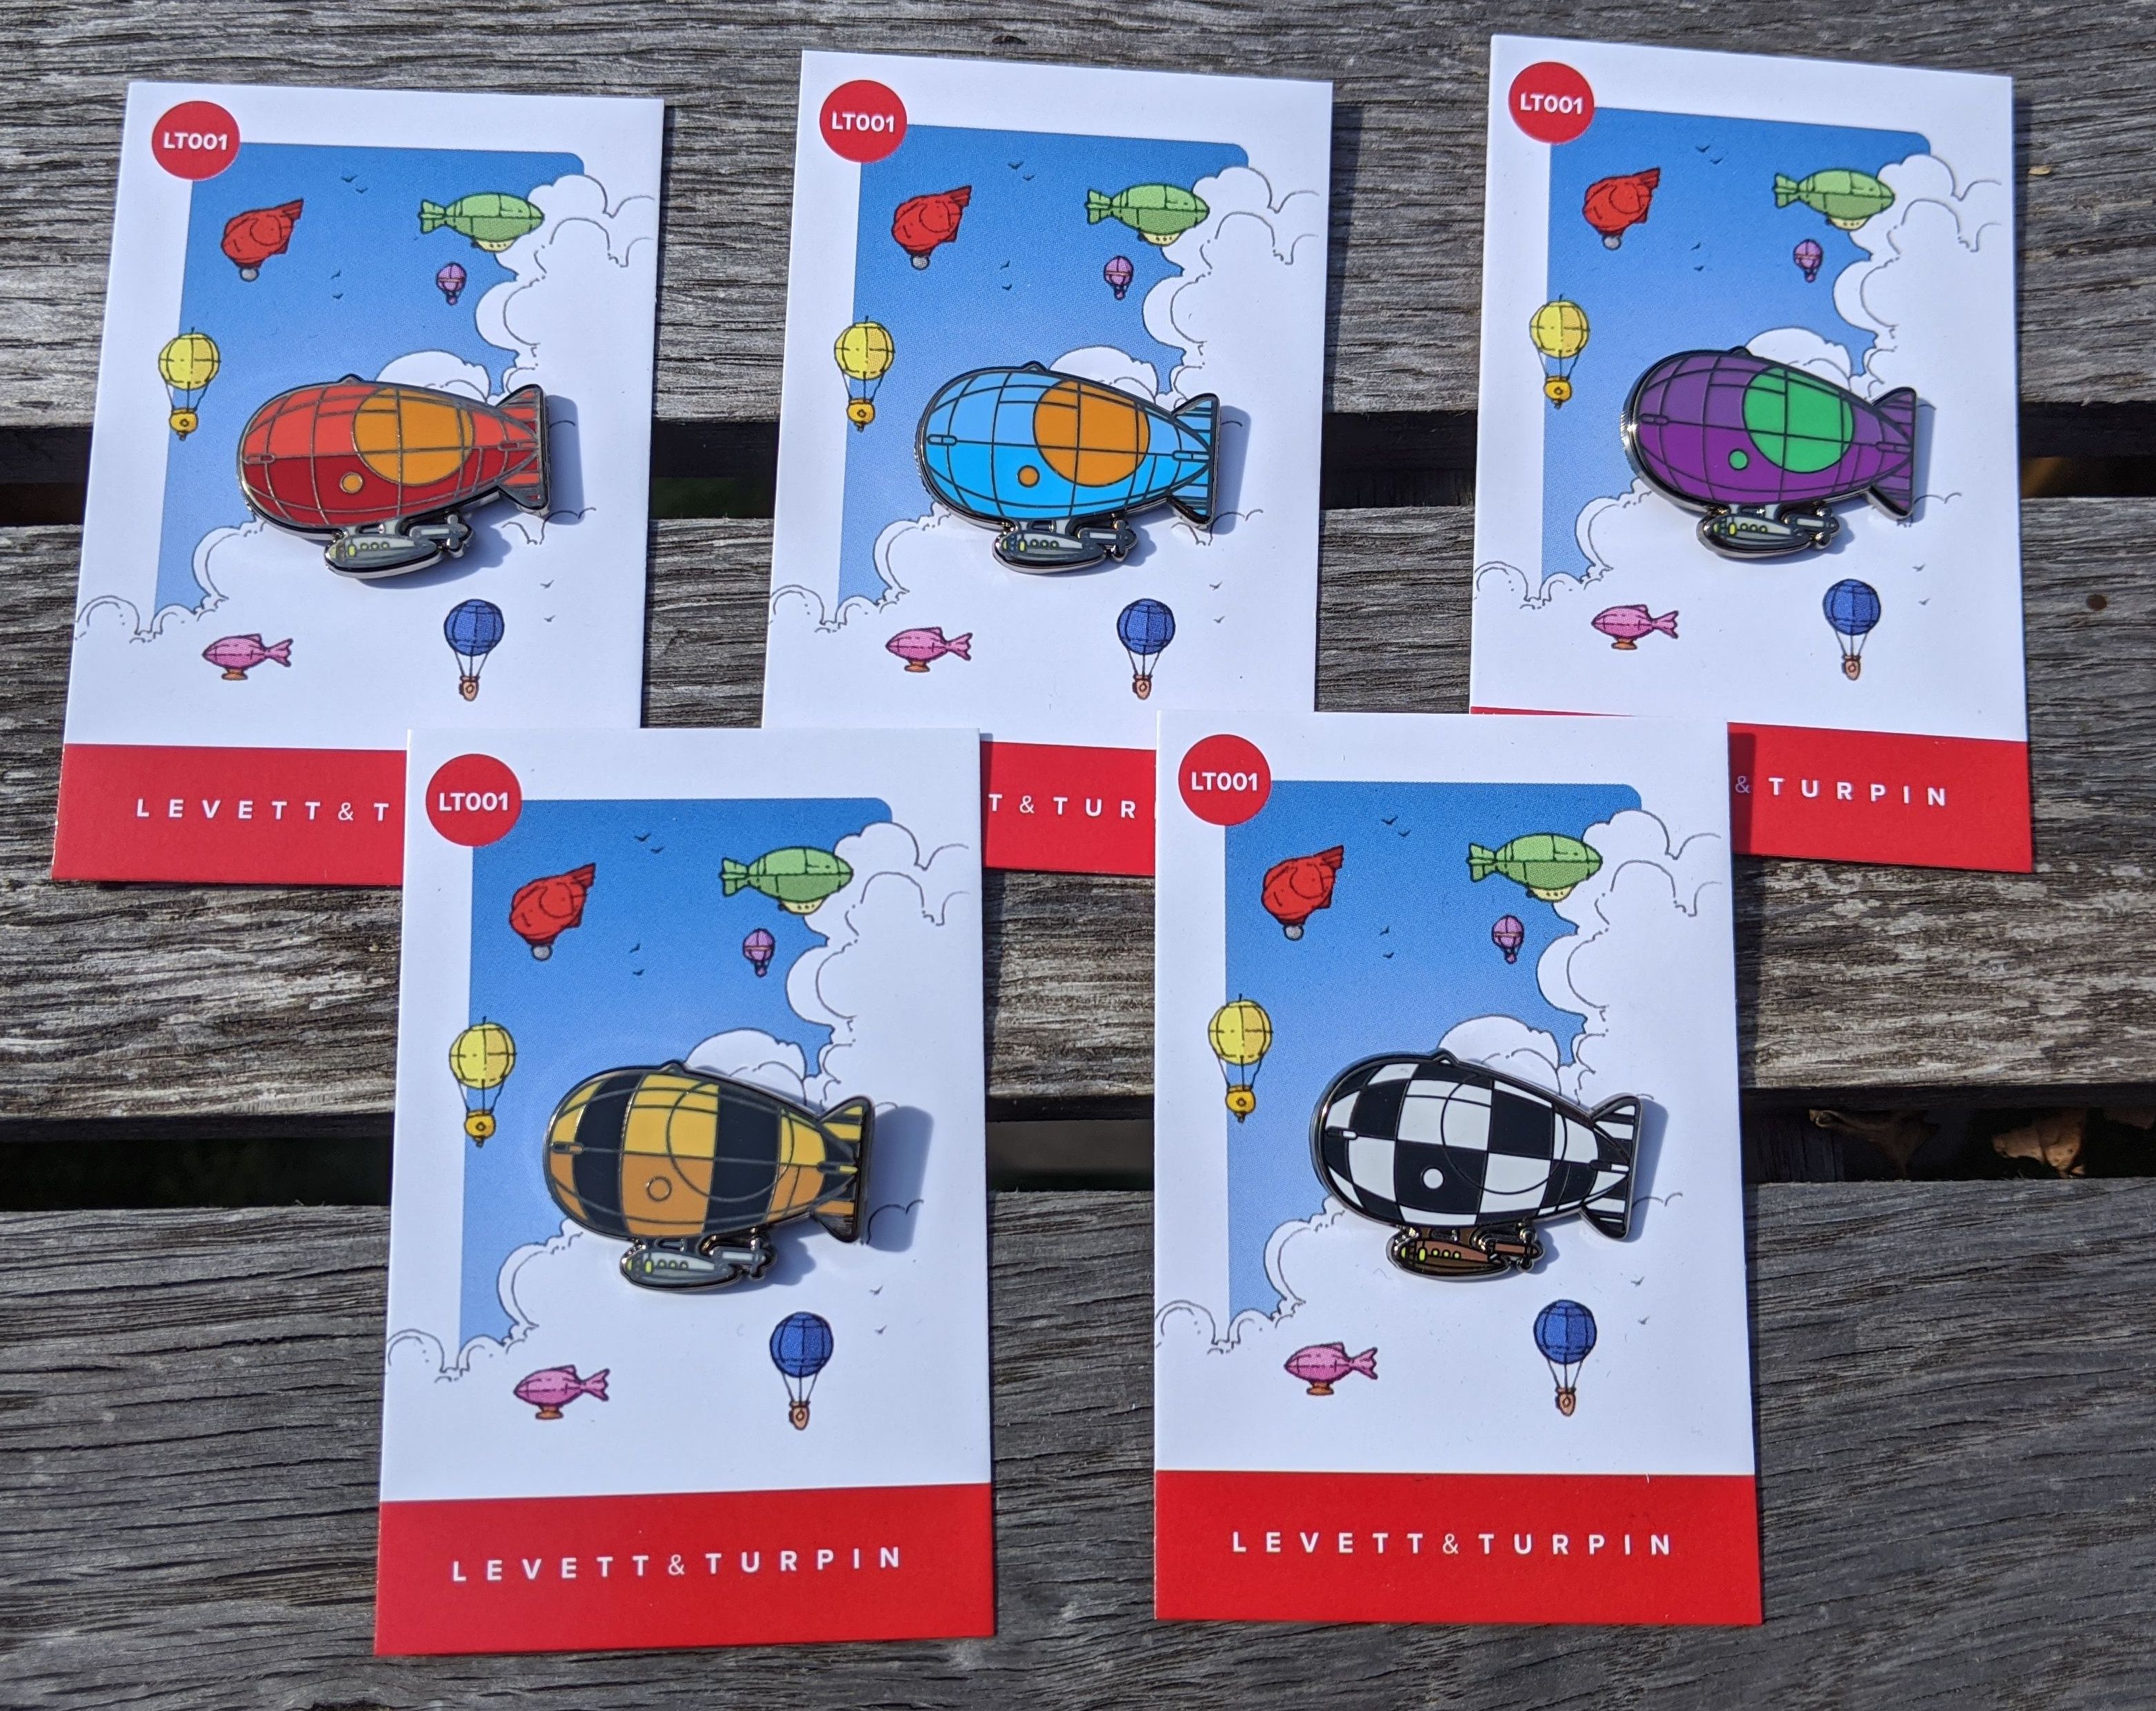
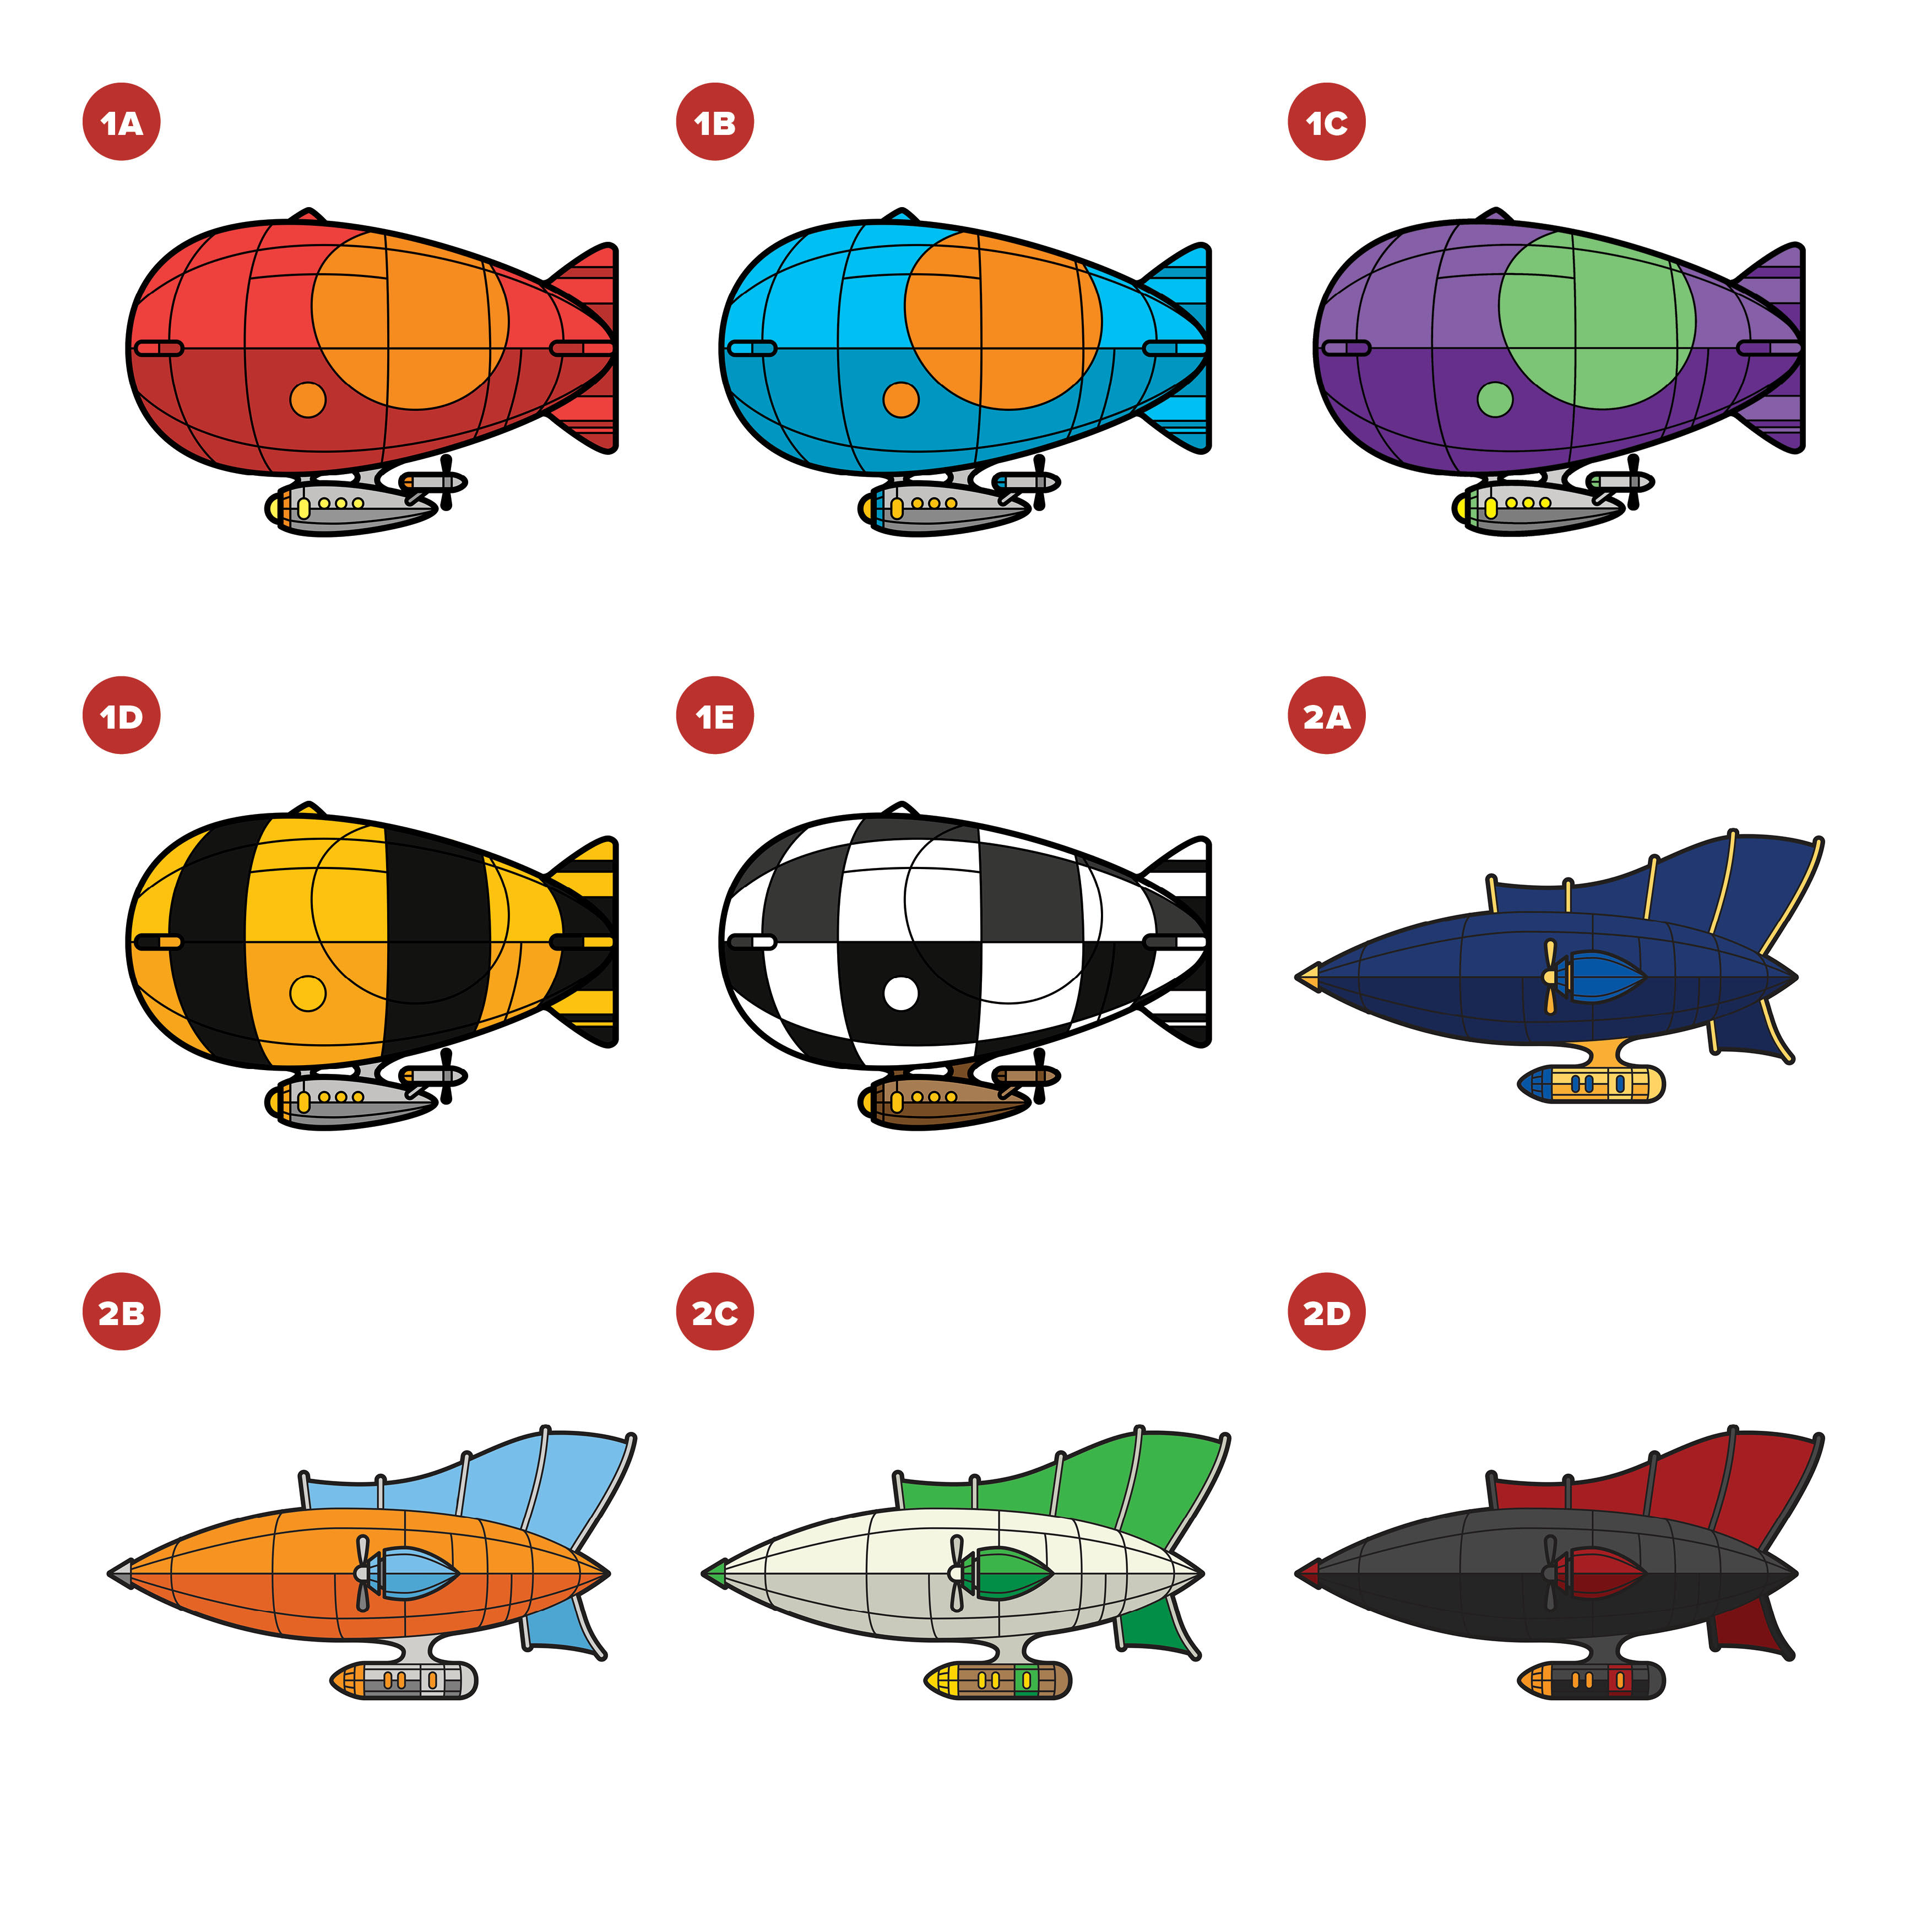 At the end of the Kickstarter, I sent out a survey to all backers to get their addresses and pin preferences, selecting from the grid above. I was quite worried that the wide variety of designs would cause my backers confusion. As it turned out this was no problem at all and everyone followed the instructions. A couple of people selected one too many pins; upon messaging they either changed it or were happy to pay a bit more.
However, for my own internal management purposes the tier structure I’d come up with was a nightmare. The way KS provides you with the data from your backer polls is broken up by tier, so the resulting spreadsheet the survey produced was very awkard to manage.
So next time I will: Poll buyers exactly the same way but design tiers to cause myself fewer spreadsheet migraines.
Lesson 8: Packaging
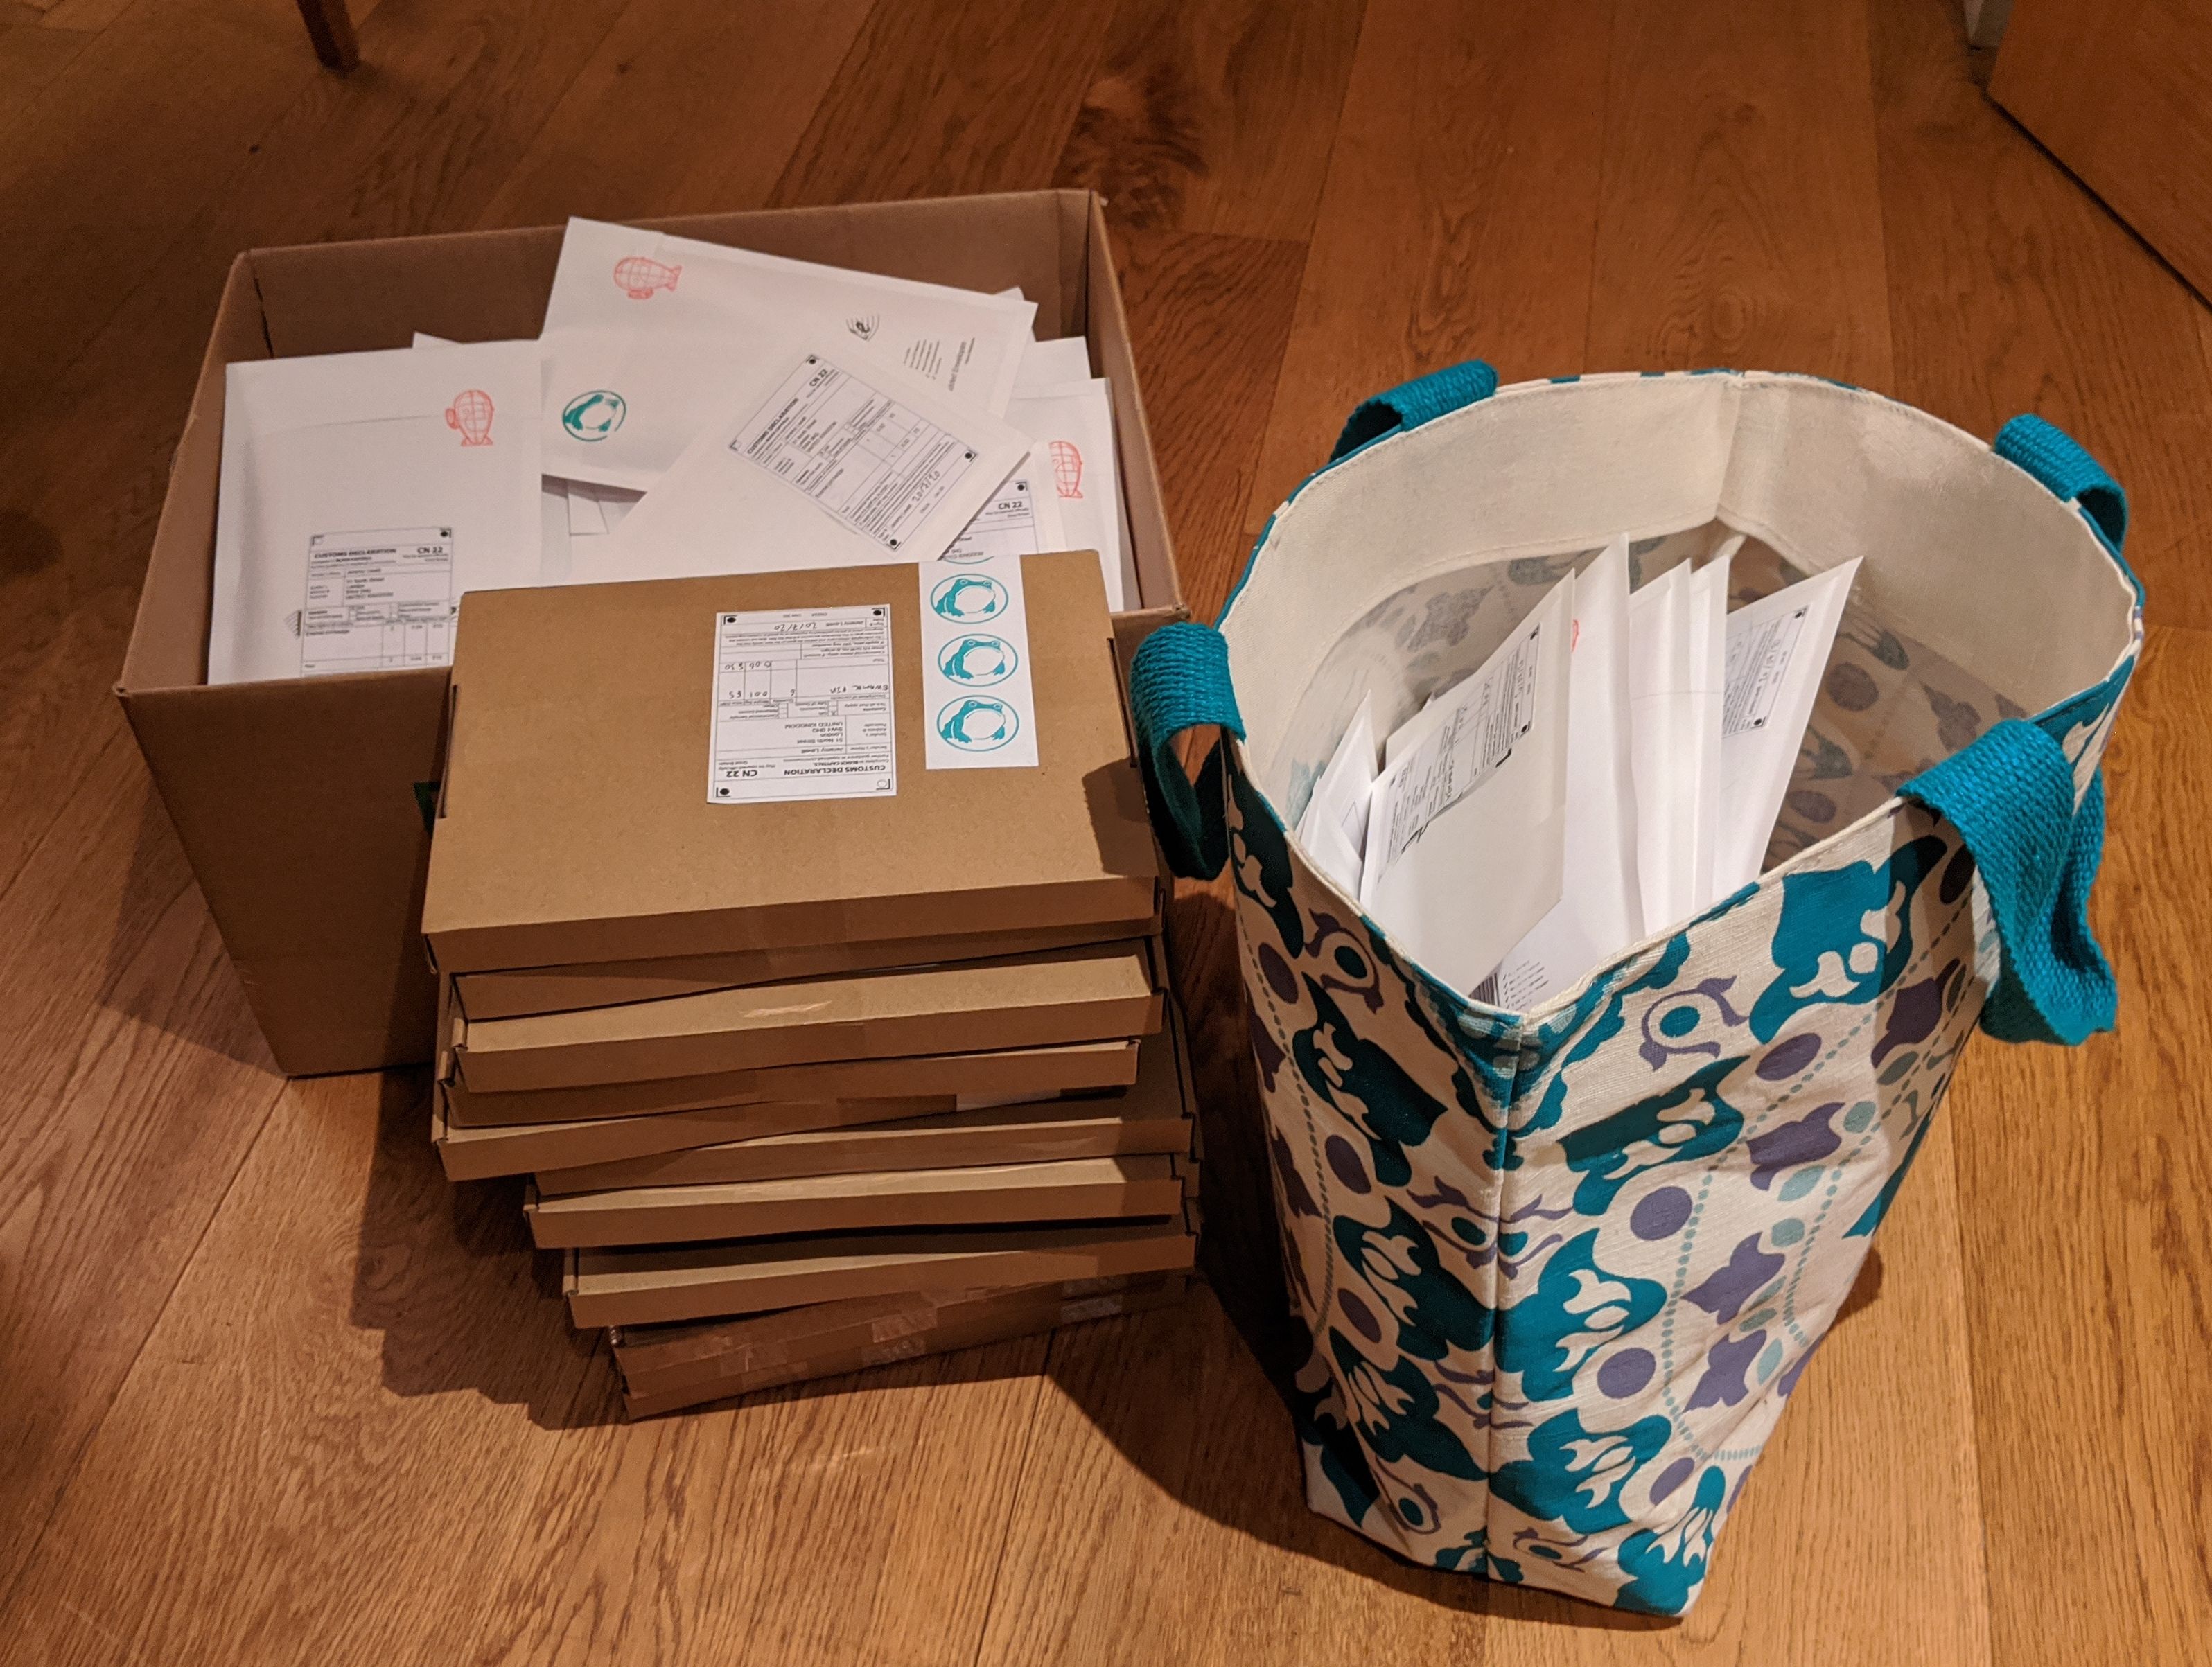
For my first foray into pin-selling I’d just stuck the frog through a card and put him in the smallest (110x165mm) jiffy-bag (bubble mailer to Americans) I could get my hands on. Most customers were happy with this but the only less-than-perfect reviews I got for my shop suggested that the clutch had been damaged in the post. Also, for early bird (and certain special customers) I was sending postcards, which could just about be jammed in but it wasn’t much fun for anyone. I ordered some larger (120x215mm) jiffy-bags, and some rigid cardboard boxes for the larger orders that were coming in, but that left the damage issue (worse, as I didn’t want anything in these bigger boxes scratched!)
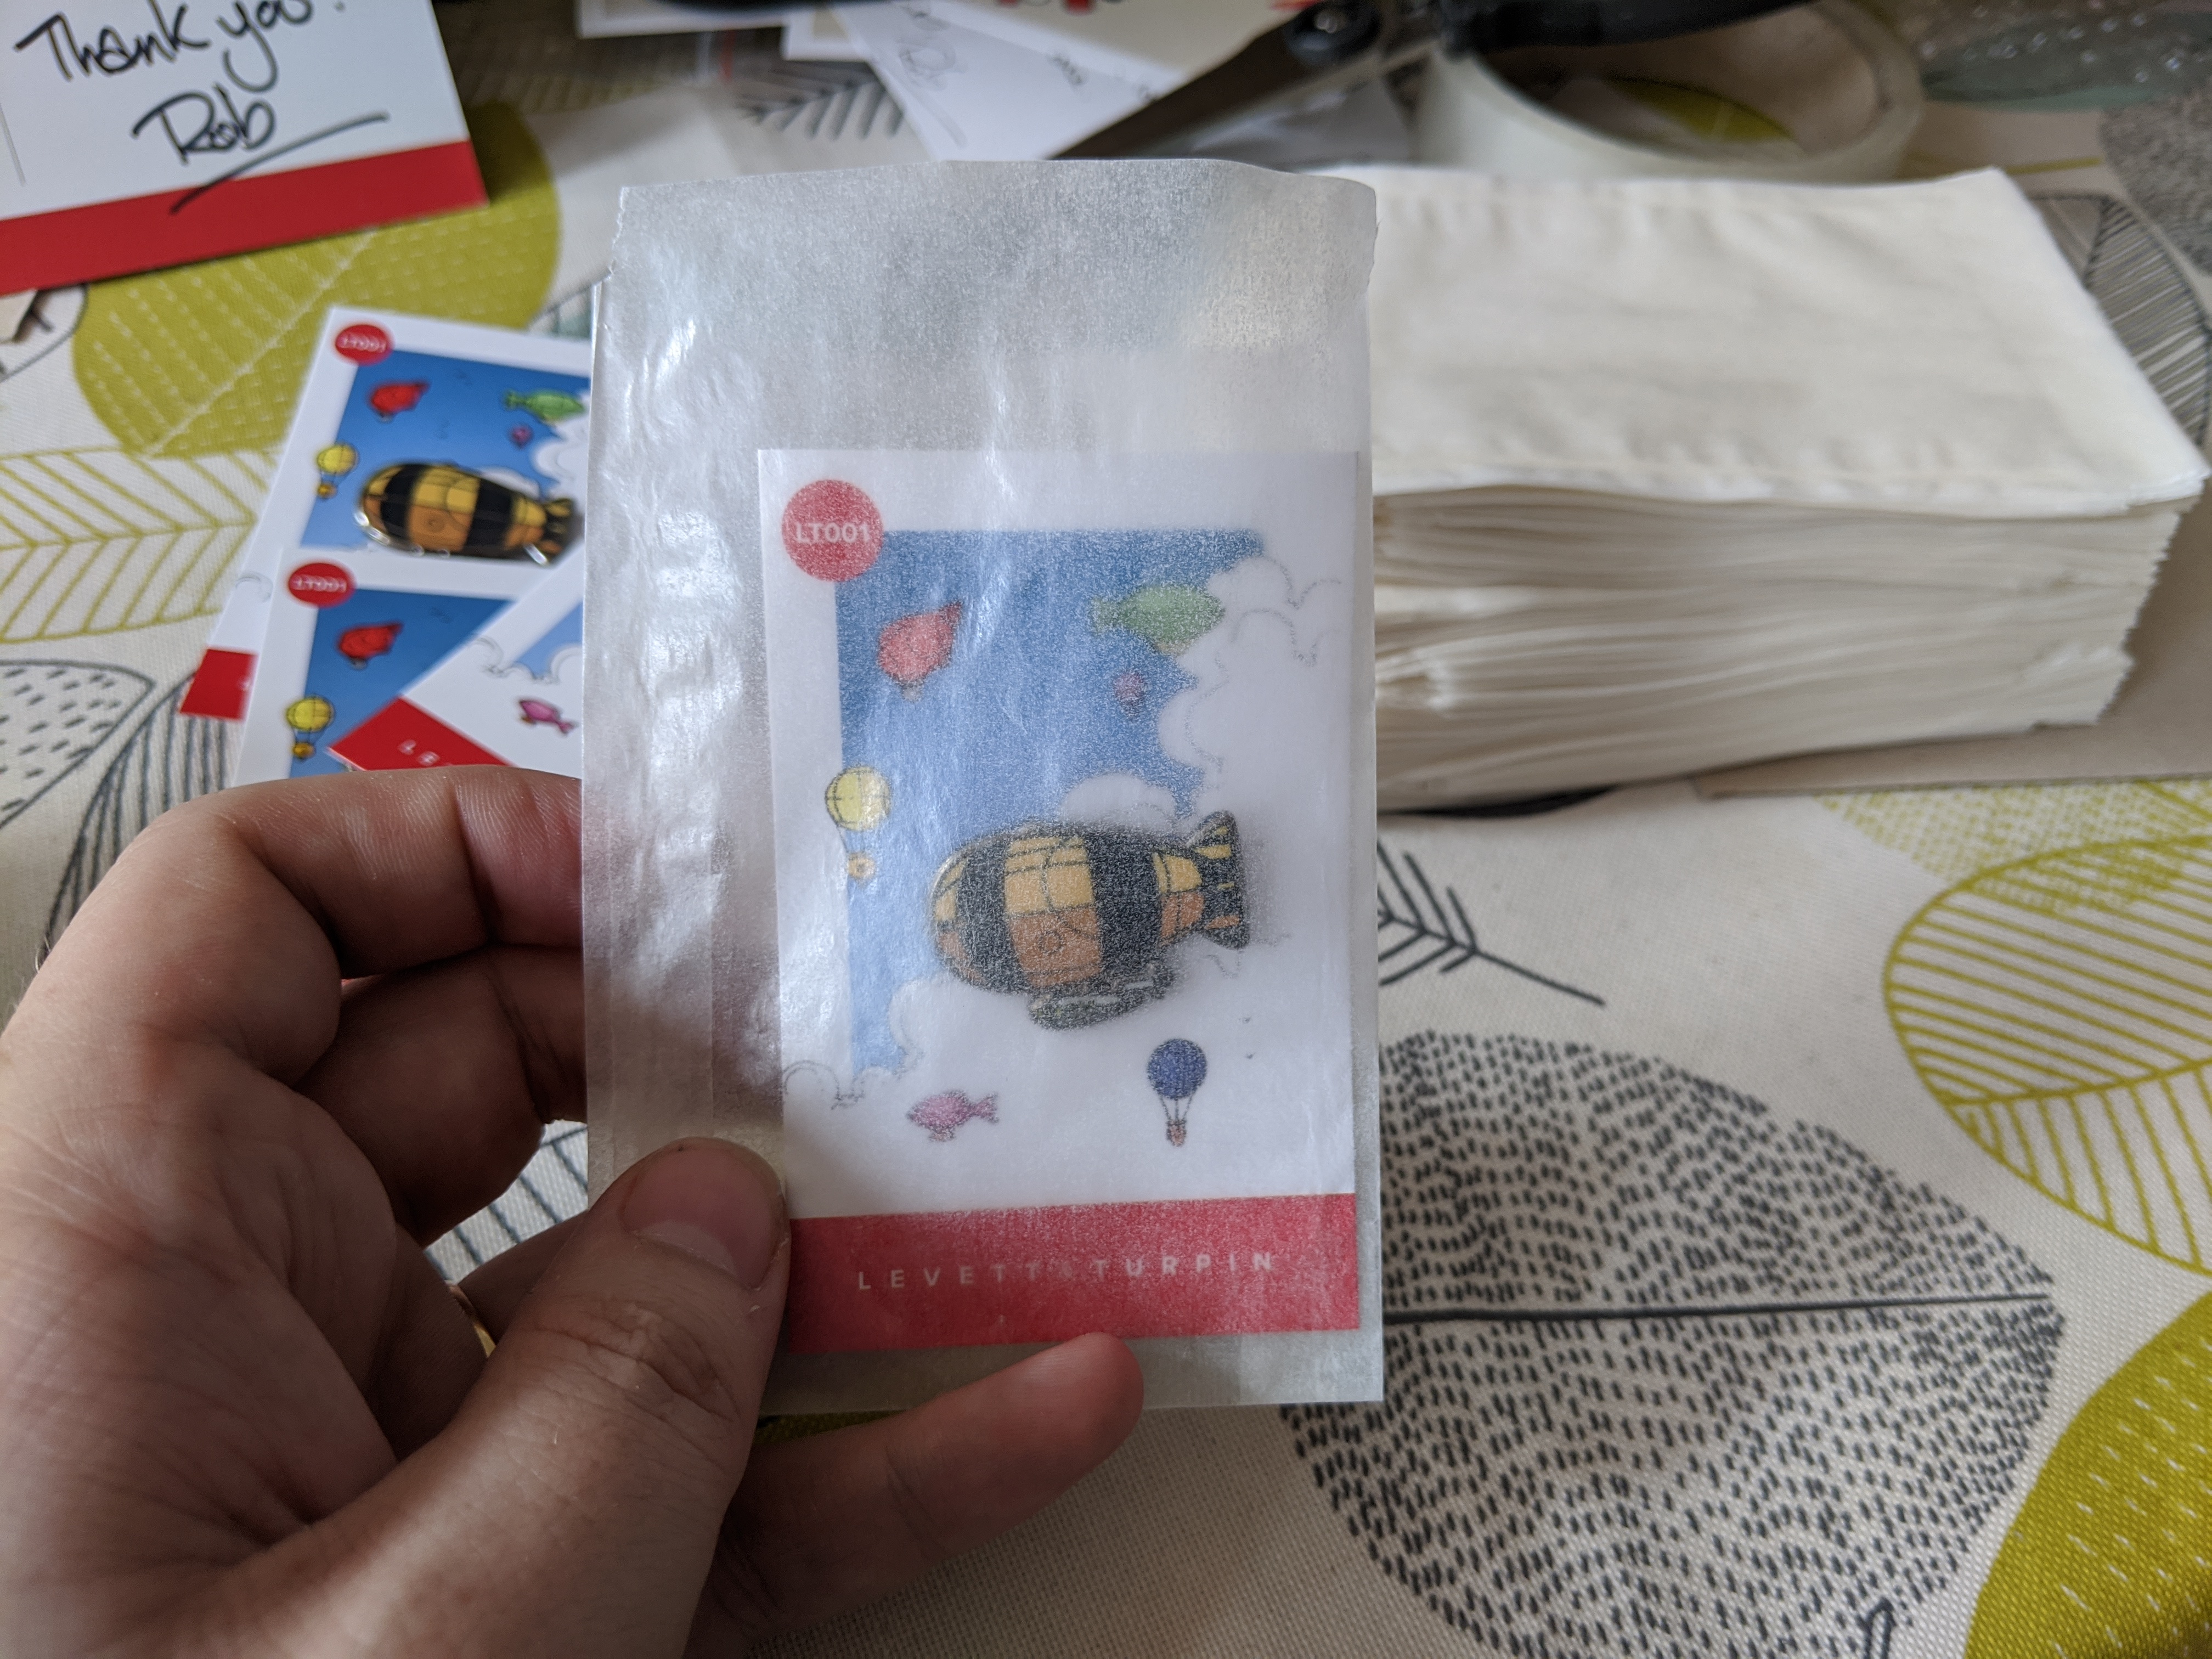
The solution was to wrap each individual pin in its backing card in a glassine paper bag. The glassine bags are pretty cheap (about 4.5p each, as I bought them) and I feel much happier about the level of protection they offer.
So next time I will: Make sure I have the appropriate packaging to hand to begin with – which won’t be hard as I have a load of surplus now! The jiffy-bags I’m using are “Enviroflute” which are all-paper and wholly recyclable and biodegradable, meaning apart from the tape and bubble wrap on the big boxes there’s no plastic involved at all.
Lesson 9: Pin Clutches & Backing Cards
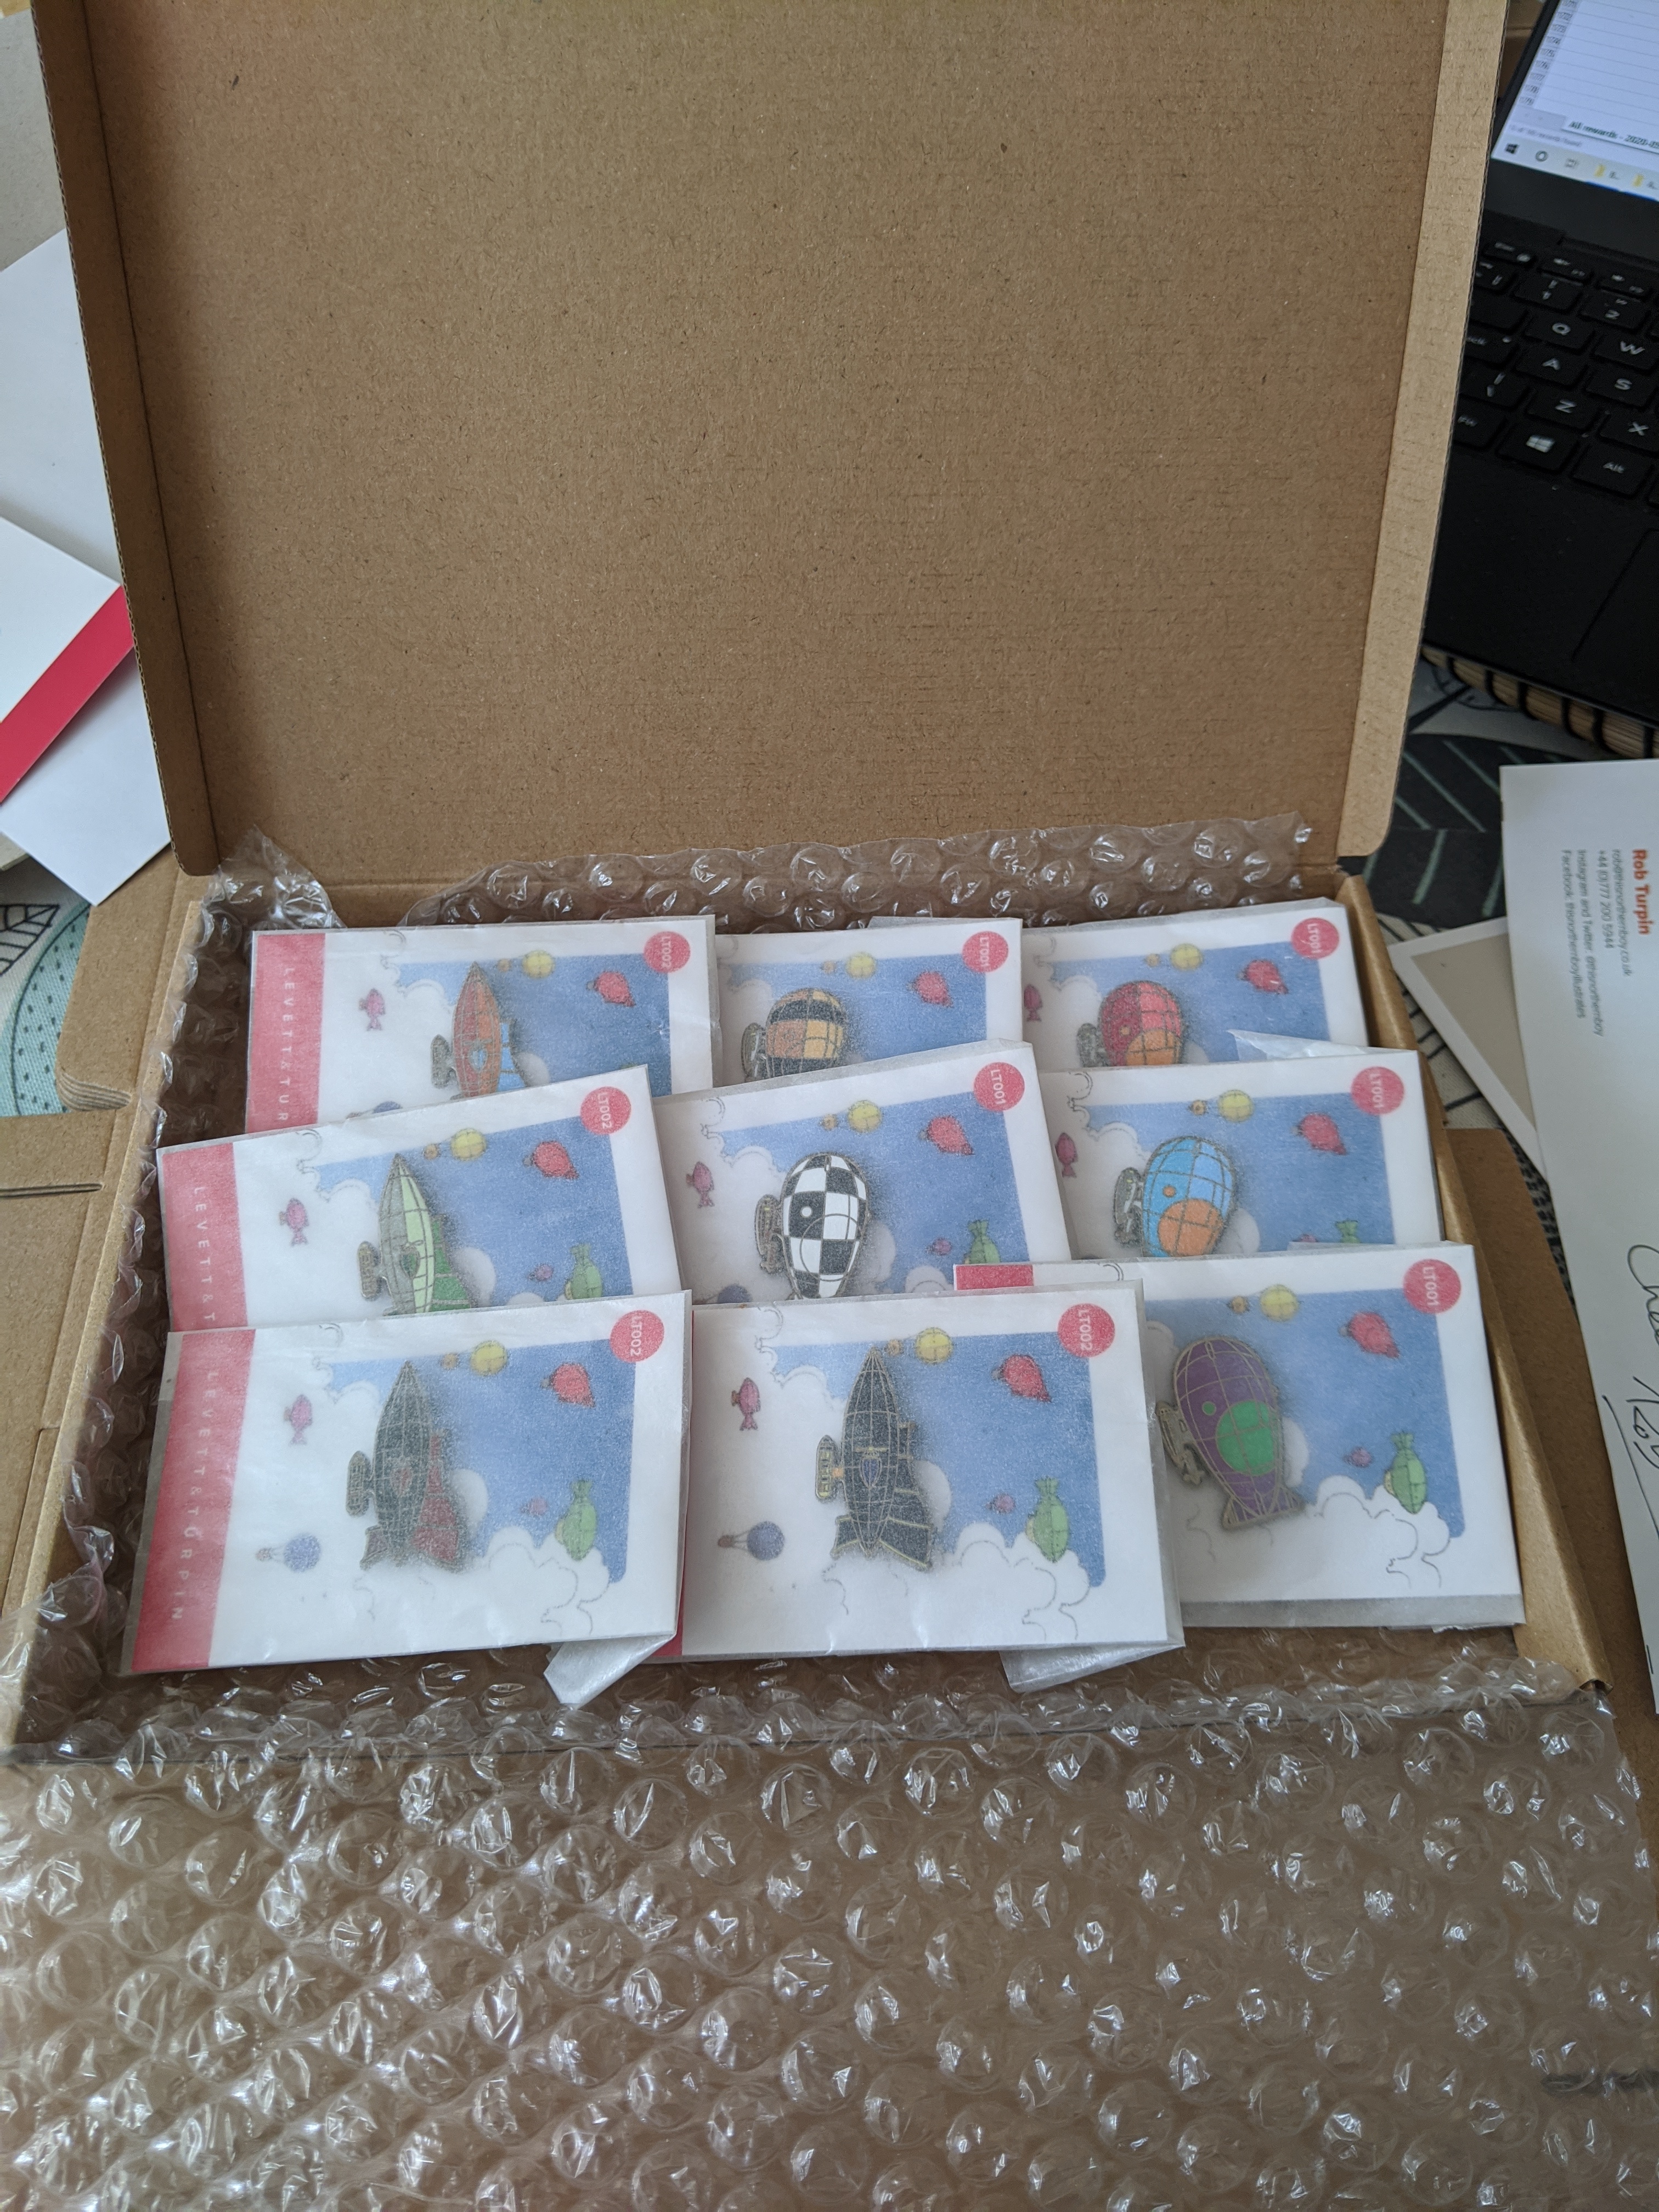
My previous backing cards were, er, extremely low-budget, but for this one I had a proper graphic designer working with me. I used printed.com for the designs Rob produced, and it all ended up looking absolutely lovely. However! Adding a large number of pins to their cards was quite fiddly and time consuming. It was much more difficult, too, with the design #2 with its two pins, which had to be quite carefully aligned.
I’ve always been a bit prejudiced against the newer rubber pinbacks and preferred the butterfly style clutches, but I’m going to be honest, taking several hundred of those off pins, putting those pins through backing cards and then jamming them back on again was an absolute flipping nightmare and nearly had my fingertips bleeding at the end.
So next time I will: Get rubber clutches and look into labour-saving devices like this interesting backing card press someone recommended. Factor in a bit more time for packaging.
Lesson 10: Postage and Labels
I use the Royal Mail Click & Drop service to print my postage labels. It’s not that difficult to upload the bulk addresses Kickstarter extrudes into a format which the site can and print labels in bulk. I paid myself for tracking on large orders but charged for cheap, untracked International Standard postage which kept costs down for my buyers. I haven’t had to deal yet with any pins going missing (and may need to update this lesson as and when I do.)

The labels are produced as PDF files; label printers are a bit outside my budget at the mo but I bought cheap sticker paper which would run through my home printer and printed them 4 to a page (regretfully I had to use Acrobat to print rather than my much-preferred SumatraPDF). These were then cut up with a £7 paper guillotine. I did the same thing for the CN22 customs labels.
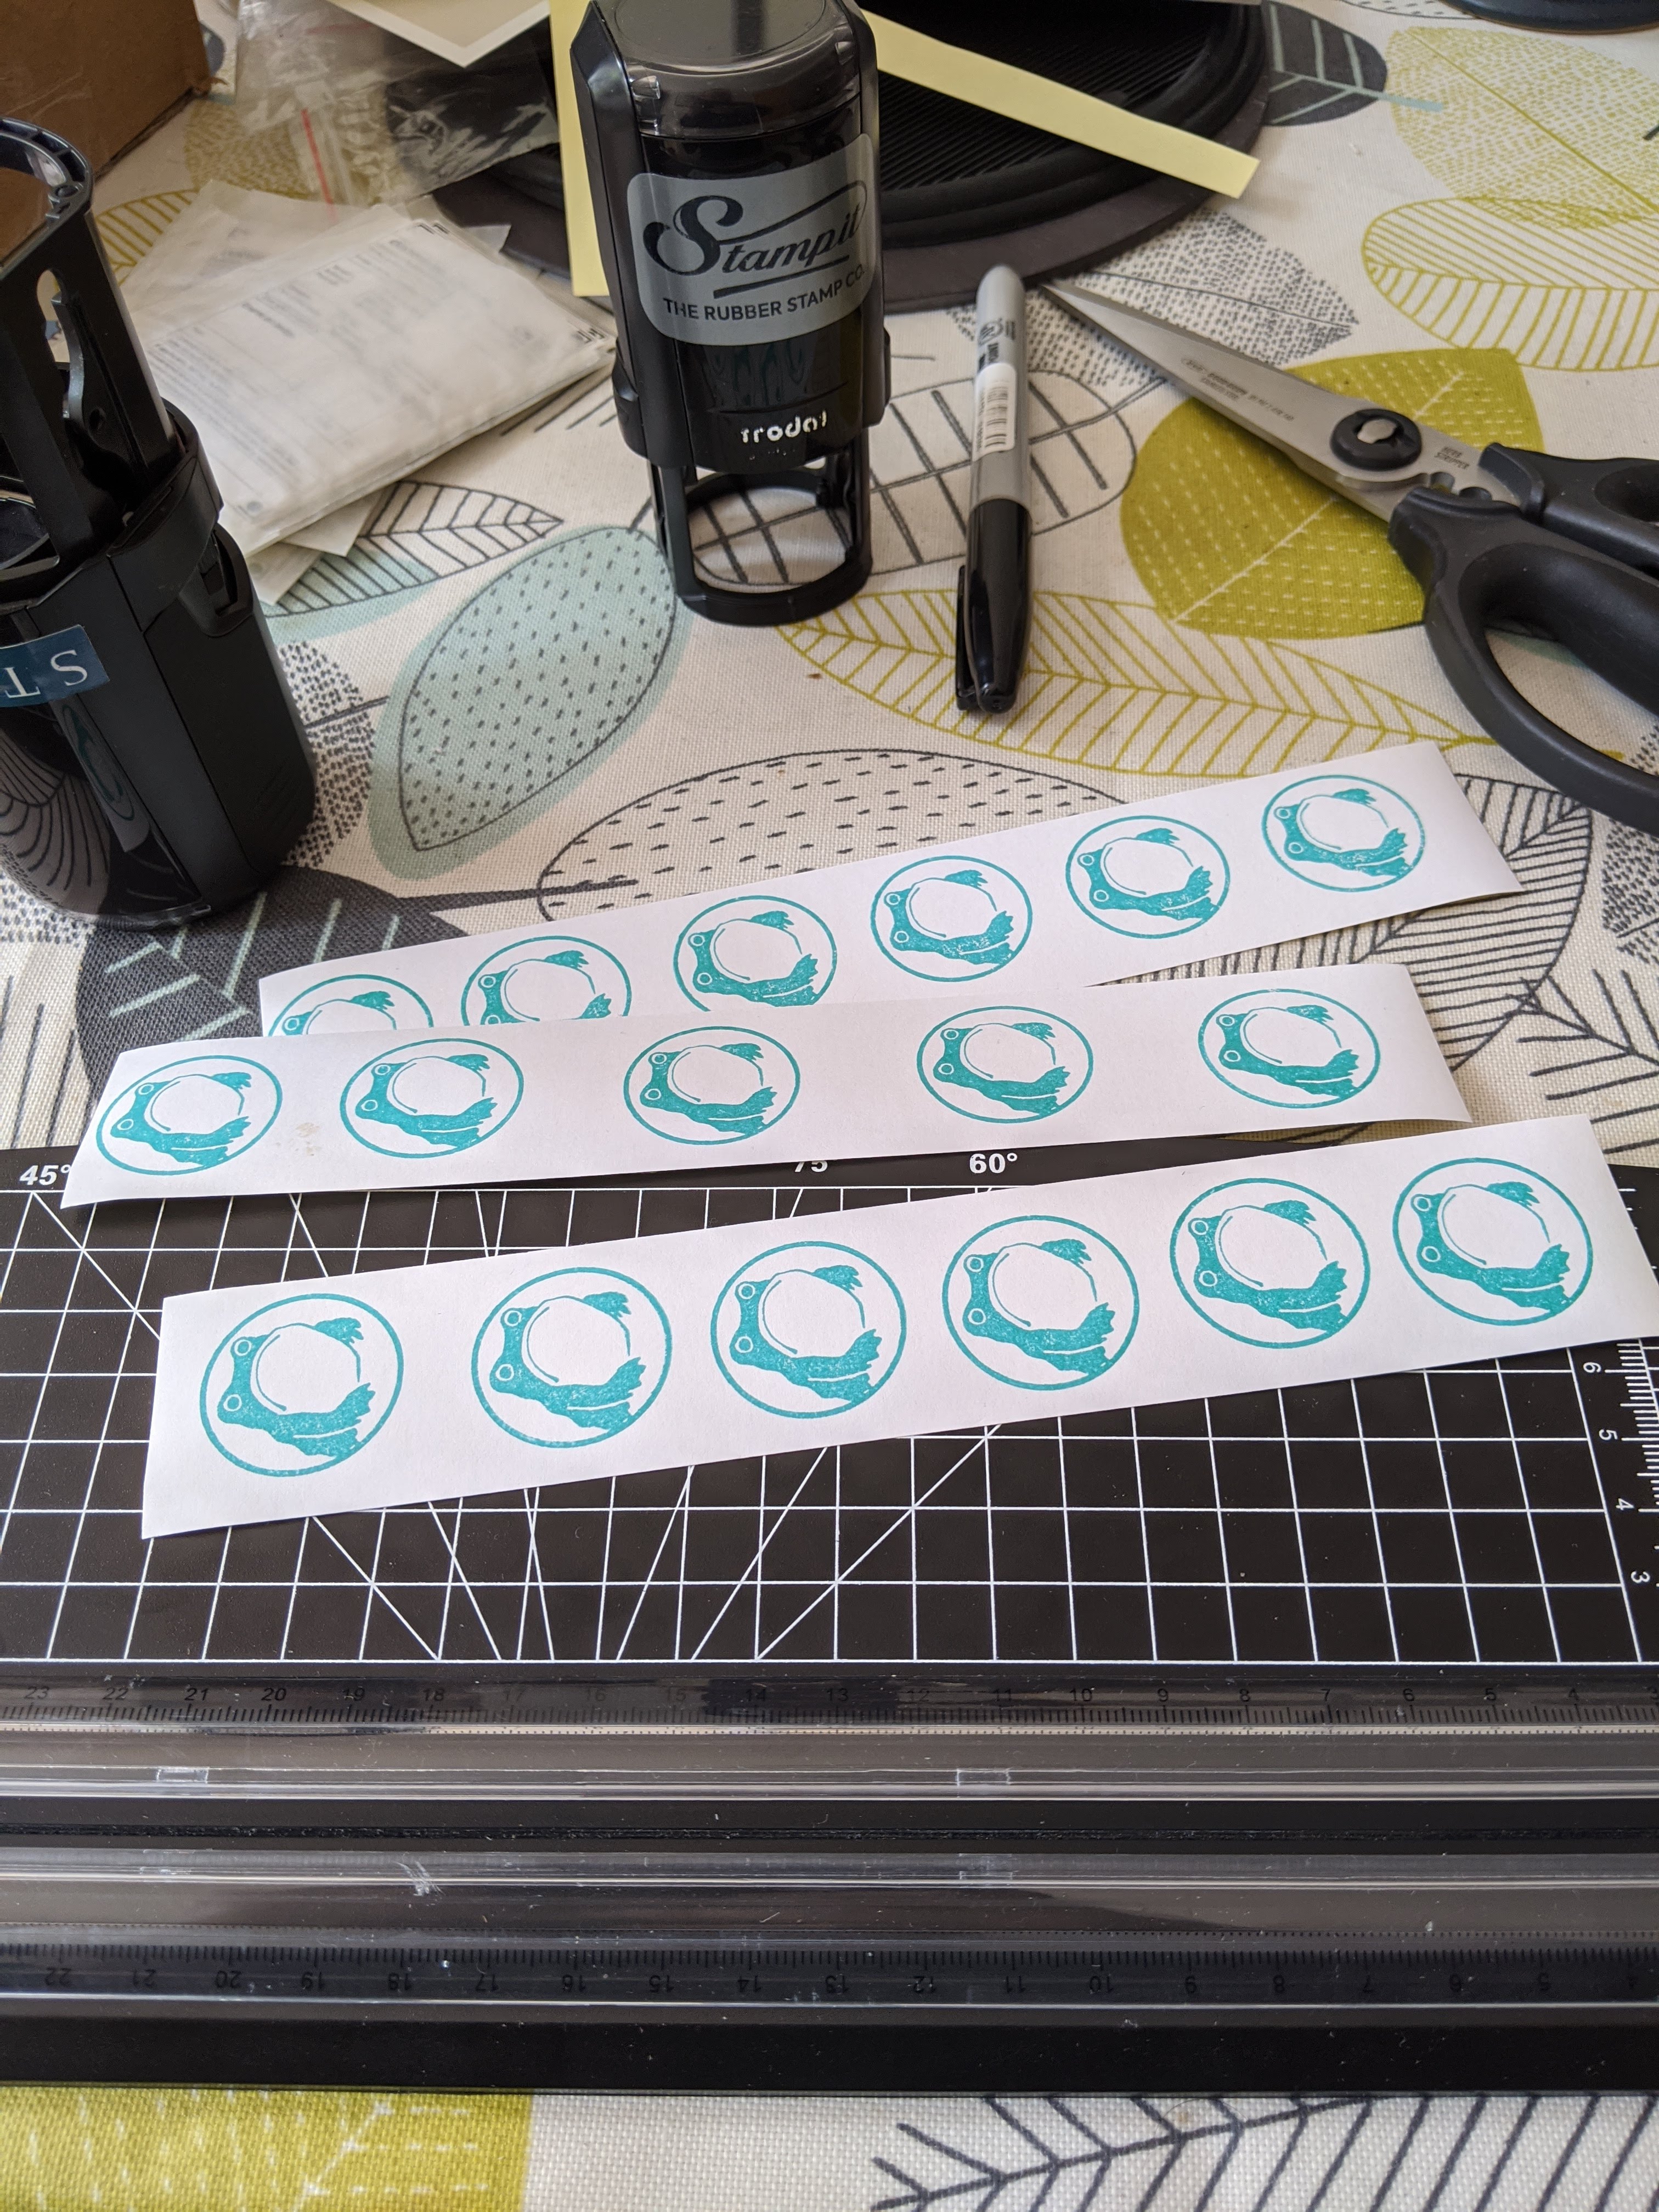
Easily the most fiddly and annoying part of this whole business was… peeling the labels off the backing paper. Seriously, it was a nightmare!
So next time I will: Grow out my thumbnails. And if I’m trying to make a business of this long term, look into getting a label printer – but for now printing and guillotining label paper is working just fine.

This is so useful! Thank you so much. I am in a very similar situation myself – my first big batch is due in 3 weeks (And I did back your KS too! Excited to receive mine)
If you don’t mind me asking – where did you find your paper bags? I’m having much the same issue worrying about scratches in transit
Also, with click and drop, did you weigh them all and calculate postage individually before printing? Or did you do the way where you just put addresses on them all and take them the post office with an account number and have it deducted? I’m working out the best way to do that too with over 100 backers :'(
Great job though – this looks like it’s gone amazingly and I’m so thrilled for you!
Oh fantastic – glad it helps and good luck with your KS! (Actually, where are you? If in the UK and you haven’t received your pins yet that’s a bit concerning – could you drop me a message on KS so I can look into it?)
I got my glassine bags off ebay (https://www.ebay.co.uk/itm/162762241769 this is the exact link but there are loads of generic sellers) – the bags I got were 75x102mm for 55x85mm backing cards.
With click & drop I set up a basic business account (https://business.parcel.royalmail.com/); I weighed one package for each amount of pins and set that as a preset which I could then apply to large numbers of parcels. You can import batches from a spreadsheet which uses the same cells as the backer survey output on Kickstarter.
Oh my goodnesssss thank you so much – I was struggling to find ANYTHING that wasn’t small inflated prices. I just couldn’t fine anything. Very much appreciated
And yes I’m in the UK! I just checked my backed project lists and I cant actually seen it…. I have a feeling I didn’t confirm my pledge although I’m convinced I filled in the survey…. I’m having an existential crisis now haha…can you see a Beth Armstrong on your backer report? ;A; (If not – do you have a shop I can purchase them in?)
And gosh that is SO useful honestly thank you so much. The packaging part of the process is giving me major anxiety!
I can’t find a Beth Armstrong I’m afraid – maybe the pledge didn’t go through? My Etsy shop is https://www.etsy.com/shop/LevettPins if you’re interested :)
Good luck with your KS and pins! (And feel free to link them in a comment here for any passing visitors!)