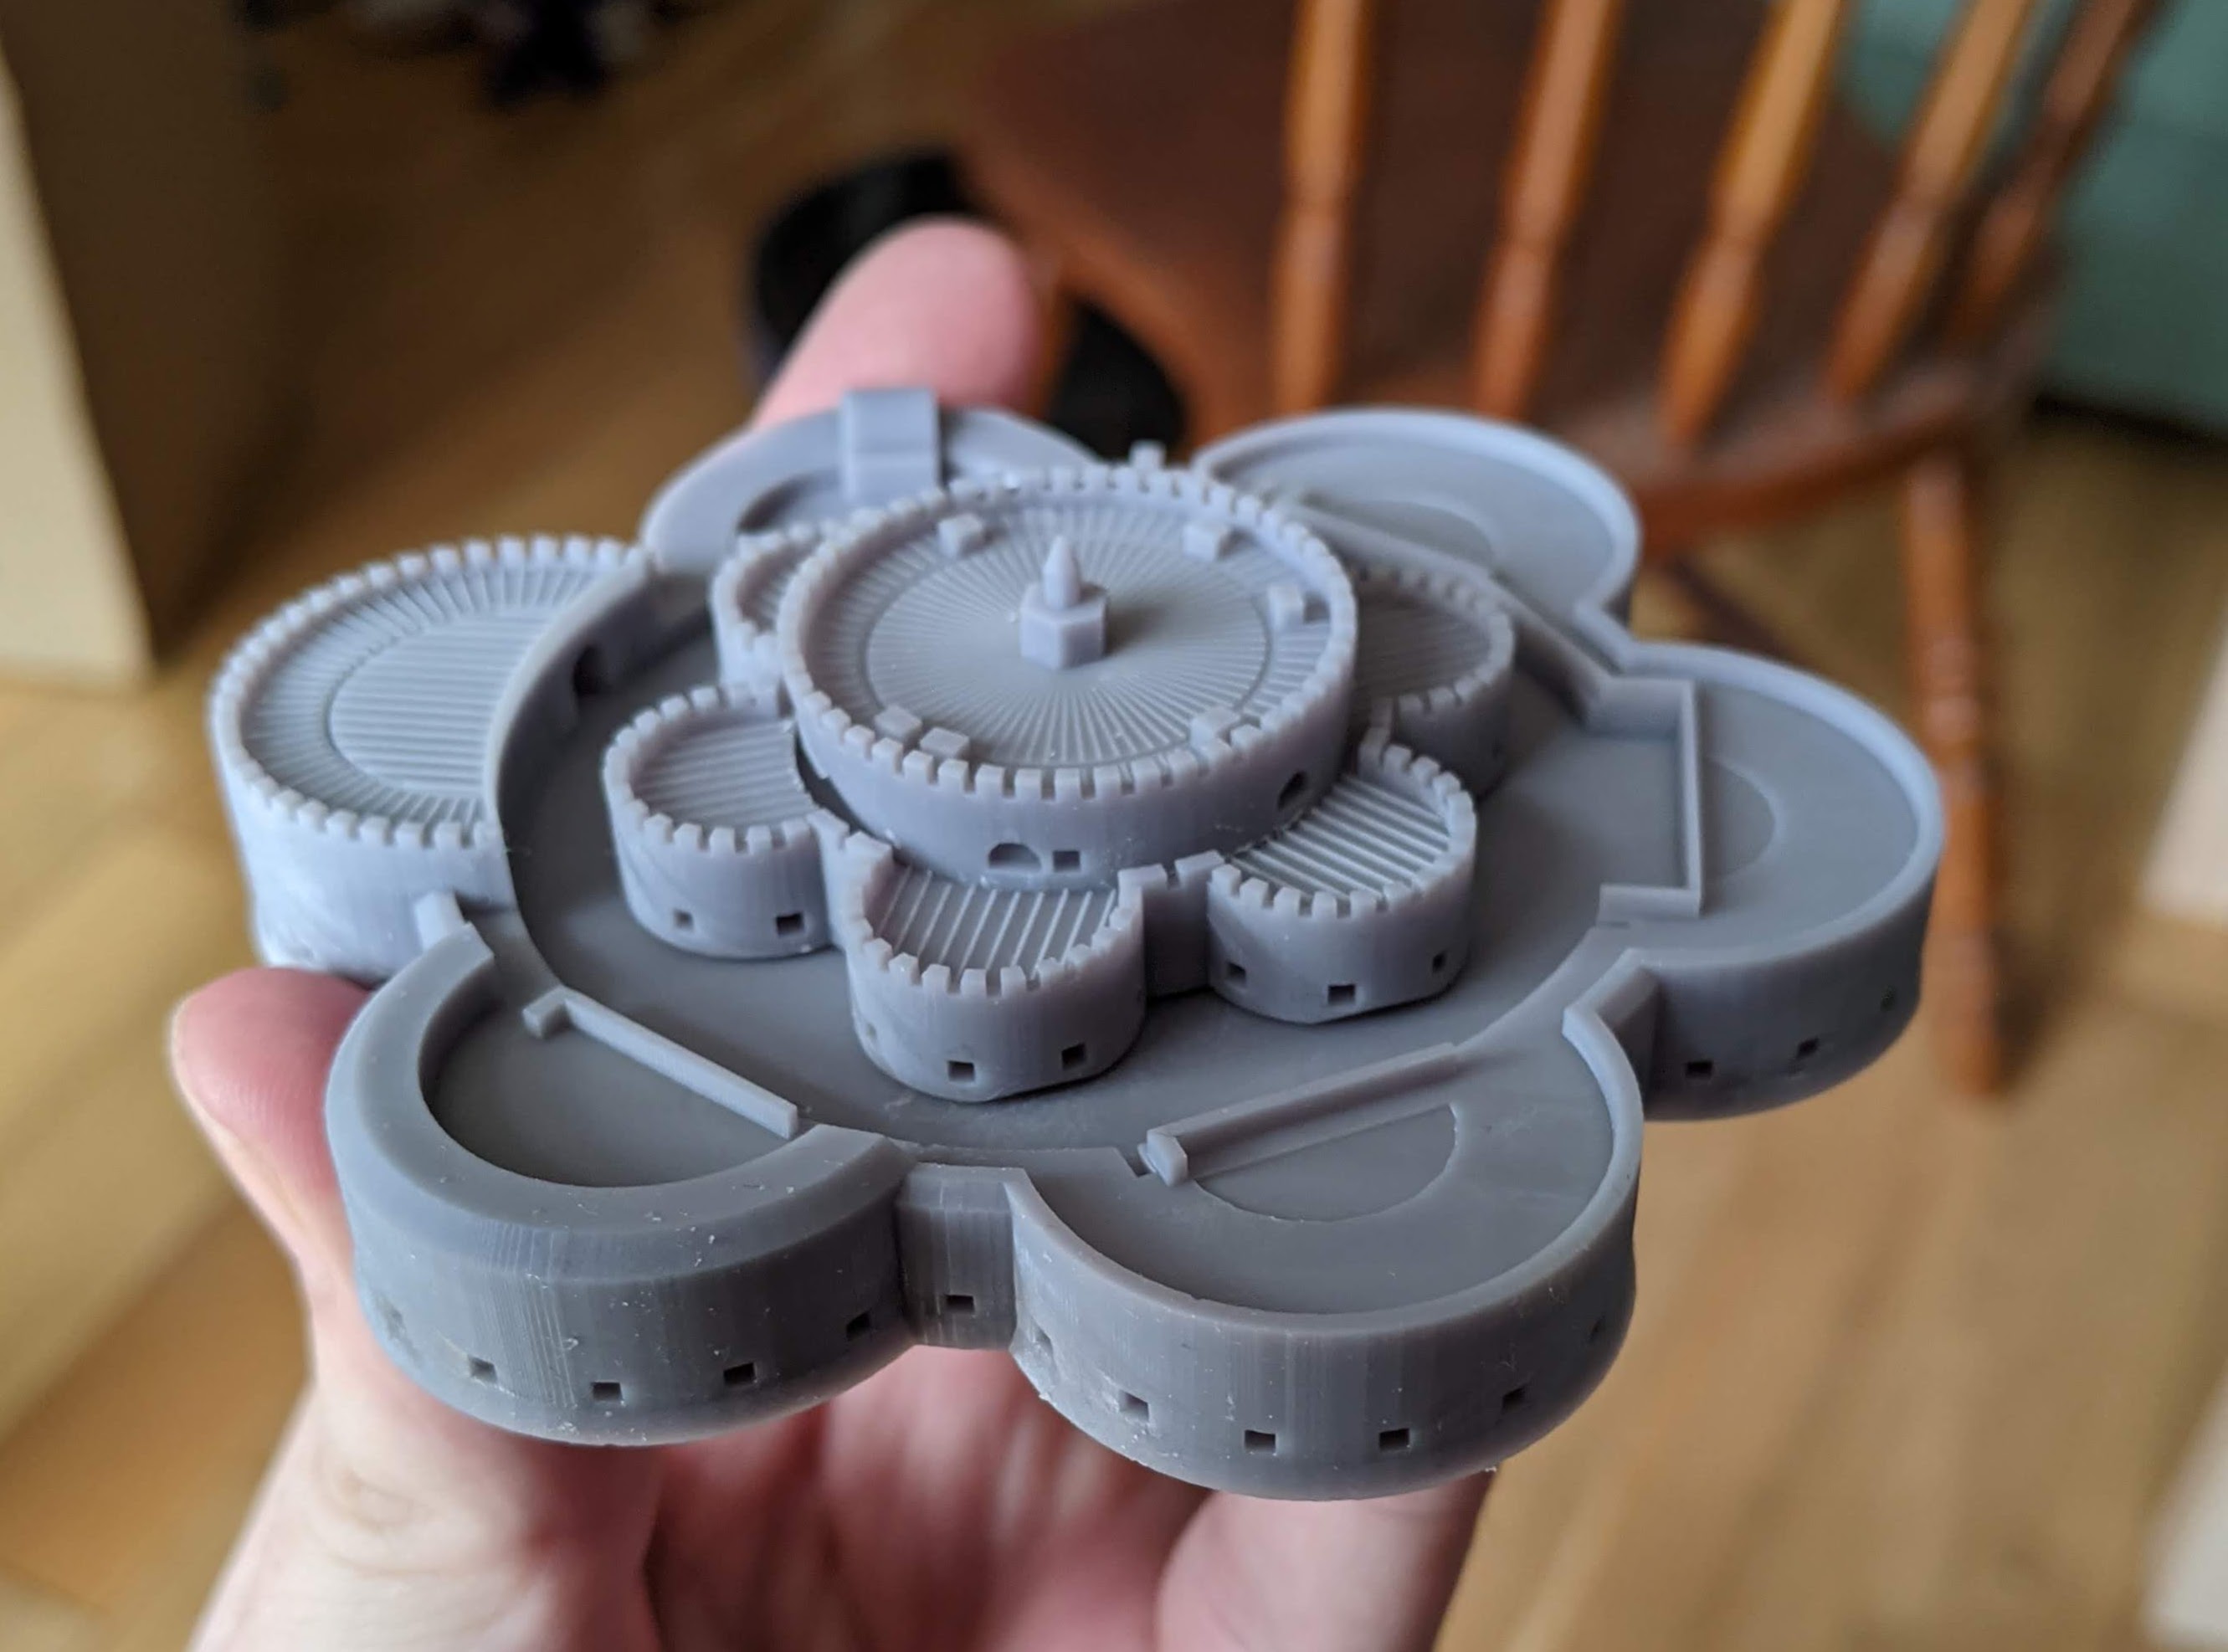
I’ve taught myself something new: here is a very tiny Deal Castle, made entirely by me!
This is the very first print, with some design flaws that I’ve now resolved. But more on that later.
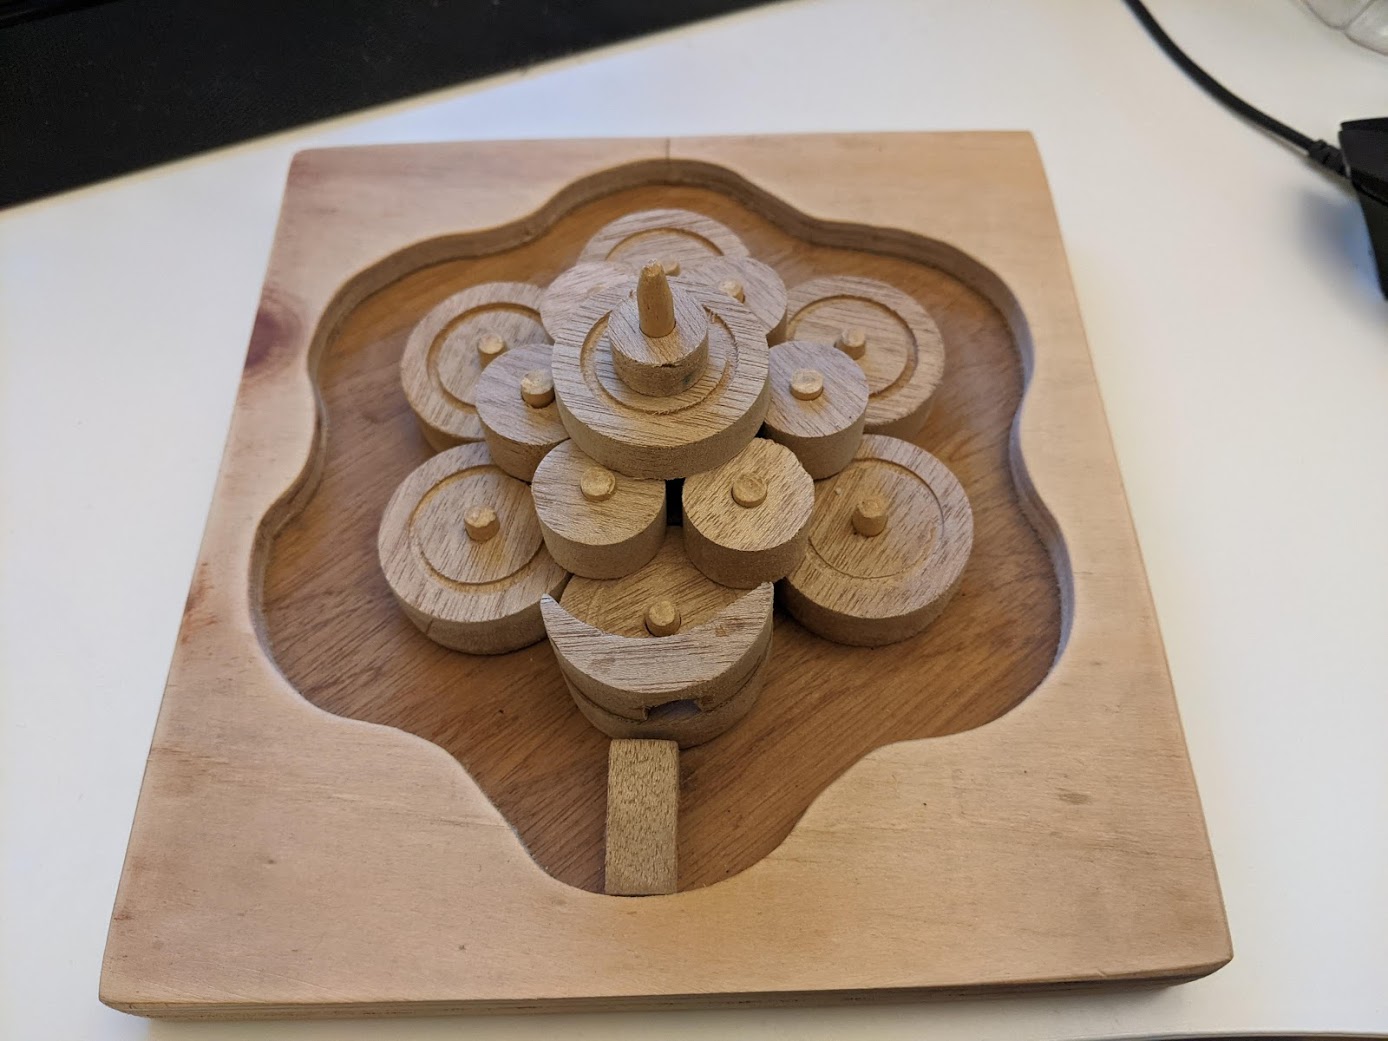
Back in the Before-Times, a beloved uncle who lives in Walmer gave me this handmade wooden model of Deal Castle as a wedding gift, which is really how this all started.
I love the Device Forts – they’re a bit before my usual historical period, but a striking, wonderful missing link between classic medieval castles and proper trace italienne gunpowder forts. I’ve always been quite keen on making tiny models, but unfortunately dyspraxia makes me far too clumsy for the sort of fine detail work So, inspired by various goings-on, including a friend on a Discord server having fun with his new 3d printer, I wondered if I could instead try my hand at crafting 3d models on a computer and leave the difficult “producing this in real life” part to machines. This coincided with me hearing about a technique called photogrammetry.
Photogrammetry in its essence is “using a number of pictures of something to work out how it looks in its entirety”, but digital photogrammetry is a recent and very interesting technique of feeding a lot of separate digital photos of something into software which assembles a 3d model of it (complete with textures.) Rather than a LIDAR-based scan, the physical shape of the object is determined just from the photos. It’s been used for various things, including making scenery in computer games, for archaeology, for budget production of 3d models in the heritage sector, and just for fun – I really recommend David Fletcher’s twitter for some examples of what can be done.
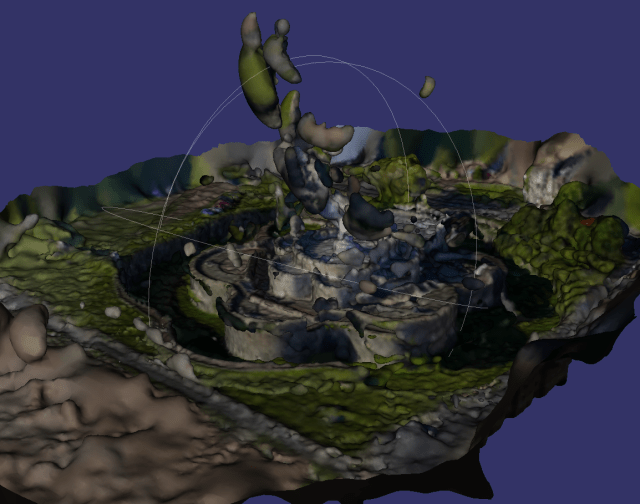
My very first attempt!
So I started (having had a good long google session to determine that this wouldn’t be terribly breaching the relevant netiquette) with a lovely drone video of Deal Castle on Youtube by Oszibusz. (Actually, I had to download the video, then run it through another piece of software to cut it unto hundreds of individual photos, but that’s by the by.) Putting this through Regard3d, a free and reasonably sophisticated piece of, didn’t take too long and immediately gave an encouraging if rather mushy, lumpy result.
Unfortunately, after spending about a week’s worth of evenings trying to do better, I came to some discouraging conclusions. The software was struggling a lot with my raw material. Having downloaded an MP4 from Youtube then sliced it up in VLC all the relevant metadata (focal length, especially) which would help the camera was lost. I spent a fruitless evening trying to make some software packages apply focal length metadata to all the files, rather than needing me to go through several hundred jpgs by hand, but gave up. A second problem was that the videos I was working from weren’t high enough resolution to pick out details like the crenellations (and, being in the situation of “I don’t have my own camera drone and there’s a pandemic raging”, I wasn’t going to get any better.) And a third was that with limited understanding (and documentation…) I was reaching the limits of what I could do with Regard3d, with each attempt taking up to 15 minutes to render a disappointing failure.
Genuinely no idea how this happened.
I started looking into other packages, but realised that my computer – while fine for games – had the wrong kind of graphics card for other photogrammetry tools (most of which are also quite expensive). And I was ultimately convinced, from various photogrammetry examples I was finding (including this astonishingly good Walmer Castle, just up the road) that this technique just wasn’t going to do what I want it to (produce good enough models to 3d print).


Exciting stuff, looking forward to part two!
Thank you, most loyal reader! :)